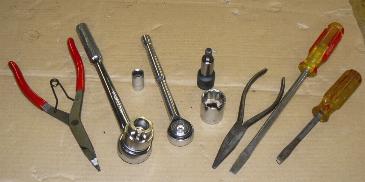
- Socket Seal Case Tool (Part# DH88596)
- Reverse Pliers
- M8 allen Key
- Regular Screwdrivers
- Socket Set & Long Nose Pliers
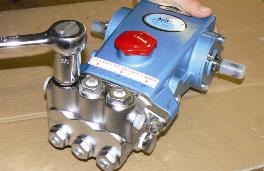
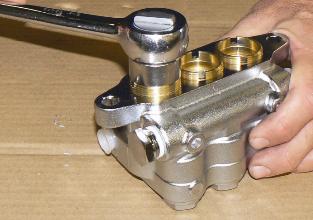
Steps 1 - 9 are best done with the pump secured in a vice.
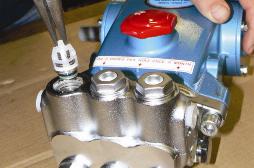
1
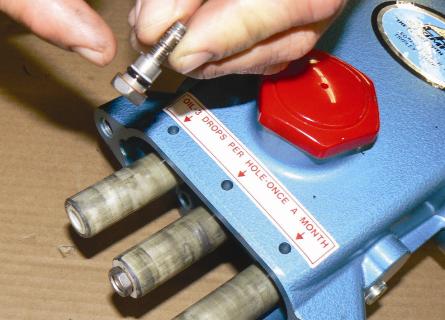
Remove the hex Valve Plugs (top discharge, bottom inlet)
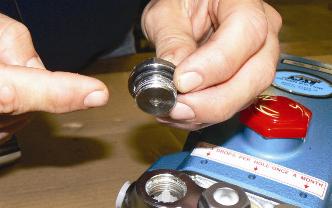
2
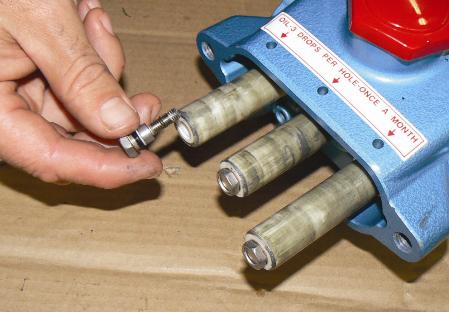
Examine the O-Ring under the Valve Plug for cuts or distortion and replace if worn. Do not lubricate this O-Ring when re-installing
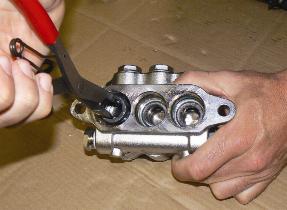
3
Grasp Spring Retainer by tab at the top with pliers and remove from valve chamber. Check internals of valve for any damage to floating disc or Valve Seat. Replace if necessary
4
Examine the Valve O-Ring for cuts or distortion and replace if worn. Lubricate the new O-Rings before installing on the manifold
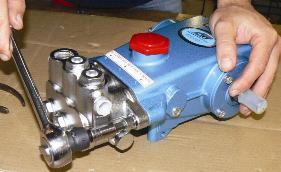
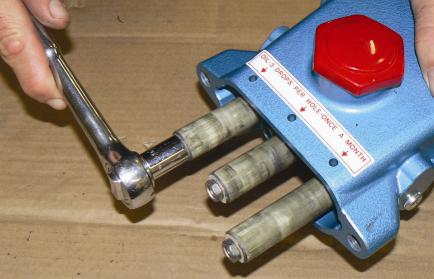
5
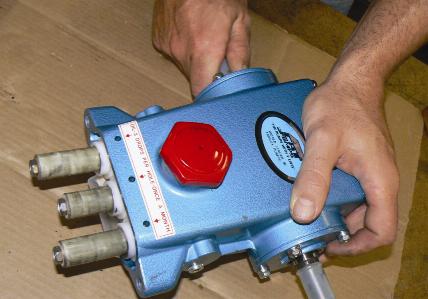
Remove the Allen key bolts on each side of the manifold
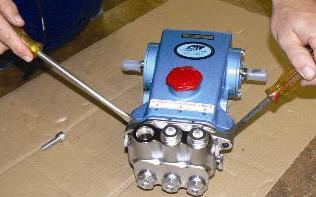
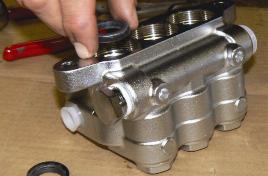
6
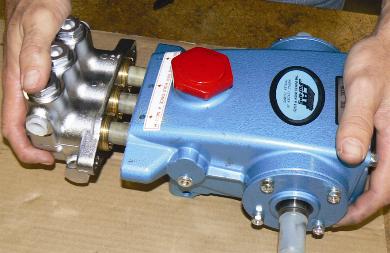
Separate Manifold Head from crankcase by turning the shaft, insert 2 screwdrivers in gap and pry Manifold Head forward until it comes off
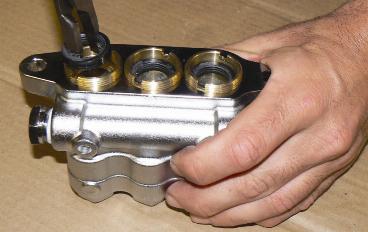
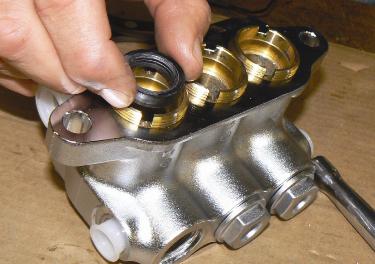
7
Remove pump from vice and place manifold head in vice. Remove Low-Pressure Seal from manifold head and discard
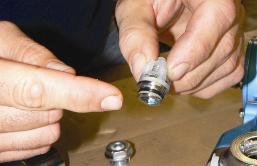
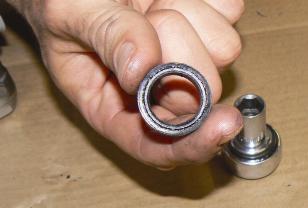
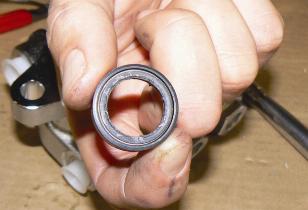
8
Remove Seal Case from each seal chamber. Remove O-Ring from outside diameter of Seal Case and discard. Be careful not to damage the brass case.
9
Remove Hi-Pressure Seal from manifold head and discard
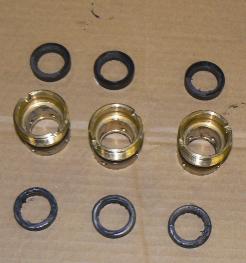
10
Correct Seal arrangement
- Lo-Pressure
- Brass Seal Case
- High Pressure Seal
Spare Parts Required
DH88422 - CAT 310 Seal Kit DH88472 - CAT 310 Valve Kit (need x 2 sets) DH88597 - CAT 310 Seal Case Brass DH88609 - CAT Piston Back Up Ring DH88612 - CAT Seal and Adaptor Retainer Set
11
Carefully square Hi-Pressure Seal into position by hand with the grooved side down
12
Install new Seal Case O-Ring and lubricate before installing
13
Lo-Pressure Seal must be installed with Garter Spring side down. The down direction is facing the front of the manifold
14
Install Lo-Pressure Seal into each seal case with Garter Spring down
15
Remove oil pan and seal retainer with wick
16
Using an M12 socket, loosen the plunger retainer and remove for inspection. Be careful not to loosen conrod.
17
Inspect O-Ring and Back-Up Ring for wear and replace if needed. Examine Ceramic Plunger for scoring, scale build up, chips or cracks and replace if needed
18
Install new Gasket, then O-Ring, then Back-Up onto each Plunger Retainer and tighten to the recommended torque
19
Install the Seal Retainer with new Wick onto each plunger rod with tab down and wick out.
20
Rotate Crankshaft by hand so the two outside plungers are extended equally
21
Lightly lubricate the Ceramic Plungers, then carefully slide the Manifold Head over the Ceramic Plunger supporting it from the underside to avoid damage to the Ceramic Plungers or Seals. Install the 2 Allen key bolts and tighten to recommended torque.